Race 2 Review
Race 2 last Saturday began on an almost fully dry track, though a few light raindrops lingered in the air. From pole, Kody Garland (#41, C) got off to a clean start, as did Joel Heinrich (#1, C) launching from third. Into Turn 1, Heinrich challenged around the outside of Garland, though the move didn’t come off. With tidy running through Turns 2, 3 and 4, Heinrich capitalised on the exit speed onto the back straight and successfully took the lead from Garland.
Kerb Clip Causes Dramatic Two-Wheel Moment
Crossing the line to begin Lap 2, the top five runners were Joel Heinrich (#1, C), Kody Garland (#41, C), Caleb Paterson (#101, R), Ryan Reynolds (#9, C), and Kent Quinn (#28, M). On the run down to Turn 1, Paterson pulled alongside Garland and made the move stick for second place. Just behind, Nathan Williams (#95, C) made a sudden dive down the inside of Quinn.
With no room remaining, Williams mounted the kerb and momentarily ran two wheels off the ground while making contact with Quinn. Remarkably, he recovered without losing any positions. Further along the back straight, Williams finally completed the pass on Quinn heading into the esses.
Into Dandenong Road (Turn 9), Quinn lost another position as Diesel Thomas (#18, R) found a way through on the inside.
Clean Passes Amidst Setbacks for McKay
On lap three, Scott Dornan (#23, G) made a bold dive into Turn 1, somehow converting it into a clean pass on Kent Quinn (#28, M). He then capitalised on his momentum to pass Reece Chapman (#25, C) exiting Turn 2. However, into Turn 4, Chapman fought back with a move down the inside, pushing Dornan wide over the ripple strips on the exit to retake the position. Cody McKay (#69, M) entered the pits on lap three, with his team appearing to inspect a potential issue.
Midfield Shuffles Highlight Lap Four Action
Starting lap four, Caleb Paterson (#101, R) made his way past Kody Garland (#41, C) to move into second place. Moments later, on the entry to Turn 1, Garland had a huge moment, nearly losing the rear end under braking. He ran very wide on the exit towards Turn 2 but managed to gather it up without losing any positions.
Running in sixth, Diesel Thomas (#18, R) lost control at Turn 4, dropping significant time before rejoining the circuit all the way back in 21st position. Later in the lap, into Turn 11, Reece Chapman (#25, C) made a move down the inside of Kent Quinn (#28, M), successfully taking over seventh place.
Tense Side-by-Side Racing at Dandenong Road
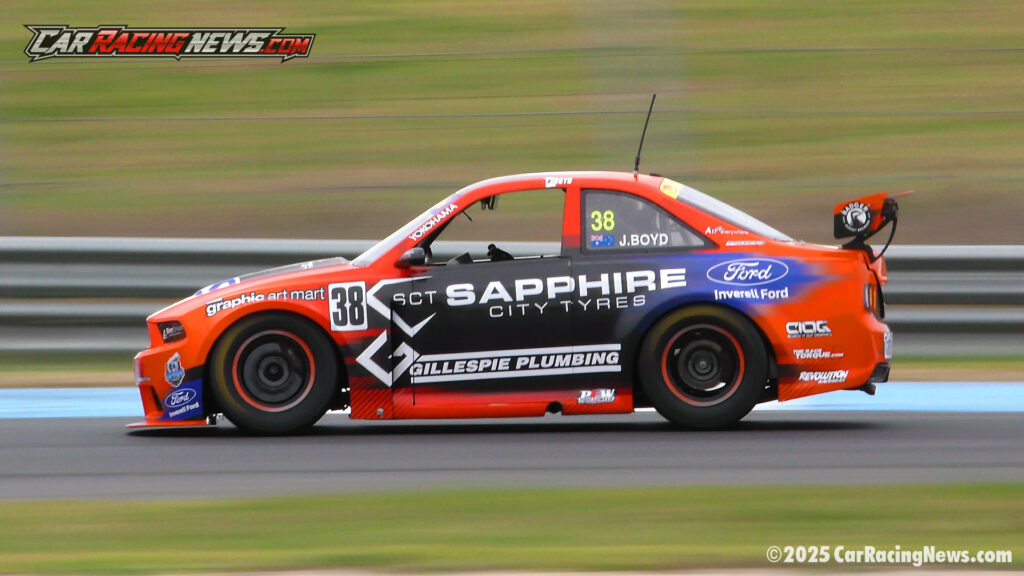
As the race entered its fifth lap, Jack Boyd (#38, C), running 12th, launched a move up the inside of Mason Harvey (#54, C) into Turn 1. The two ran side by side through Turn 2, swapping places in a tightly contested scrap. Harvey regained the inside line at Turn 4, but despite both drivers running door-to-door onto the back straight, Boyd eventually pulled ahead to secure the position.
At Dandenong Road (Turn 9), Reece Chapman (#25, C) made a move down the inside of Kent Quinn (#28, M), but Quinn set up for the undercut. As Chapman drifted slightly wide, Quinn slipped back alongside on exit. Approaching Turn 11, Quinn edged ahead, with Brandon Madden (#57, C) now joining the fight, running side by side with Chapman on the outside.
Chapman battled hard to hold position through Turns 11 and 12, with minor contact between himself and Quinn. Despite crossing the exit ahead of Madden, the Harveys Towing driver had set himself up perfectly and used the run onto the main straight to sweep past both Chapman and Quinn.
Crash at Turn 4 Triggers Safety Car Deployment
Heading into Turn 1 on Lap 6, a tightly packed nose-to-tail train had formed from seventh-placed Brandon Madden (#57, C) down to Nathan Barber (#55, R) in 13th. The congestion came to a head at Turn 4, when Scott Andriske (#4, G), running in 10th, was tapped under braking by Reece Chapman (#25, C). The contact sent Andriske straight into the runoff area and lightly into the tyre wall, where he struggled to engage reverse and rejoin the race.
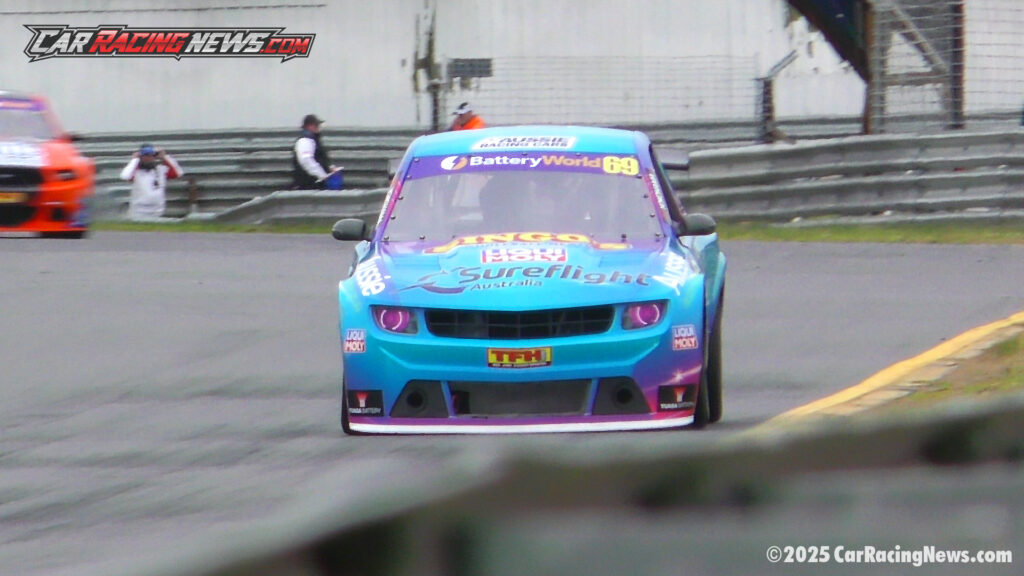
After spending several laps in the pits, Cody McKay (#69, M) returned to the circuit to secure a classified finish, notably running without his front clip. With the safety car deployed due to Andriske remaining stuck in the tyre wall at Turn 4, Ryan Reynolds (#9, C), running in fourth, appeared to suffer a mechanical failure. He pulled off to the side of the back straight just in front of a marshal point.
Red Flag Stops Race After High-Stakes Last-Lap Roll Over
Following several laps under the safety car, the race resumed with a dramatic one-lap dash to the finish. The field bunched tightly and ran two-wide through Turns 11 and 12, crawling toward the start line in anticipation. As the green flag dropped, racing was back underway with the pack poised for a frantic final lap.
Caleb Paterson (#101, R) surged through Turn 1 to seize the lead. Meanwhile, in the middle of the pack, contact forced Reece Chapman (#25, C) into a dramatic spin. After running backwards over the dip behind the ripple strip, Chapman’s car lifted off and rolled twice, ultimately coming to rest on its roof.
Race 2 Wrap: Red Flag Decides the Podium
The incident triggered a red flag, bringing the race to an immediate halt. The final results were then determined according to red flag regulations.
The final top three places for Race 2, as reported by Aussie Racing Cars on social media, saw Joel Heinrich (#1, C) claim the outright victory, followed by Caleb Paterson (#101, R) in second, and Kody Garland (#41, C) rounding out the podium in third.
Race 2 Results – Speed Series Sandown
| Pos | Driver & Entry | Class | Laps | Race Time |
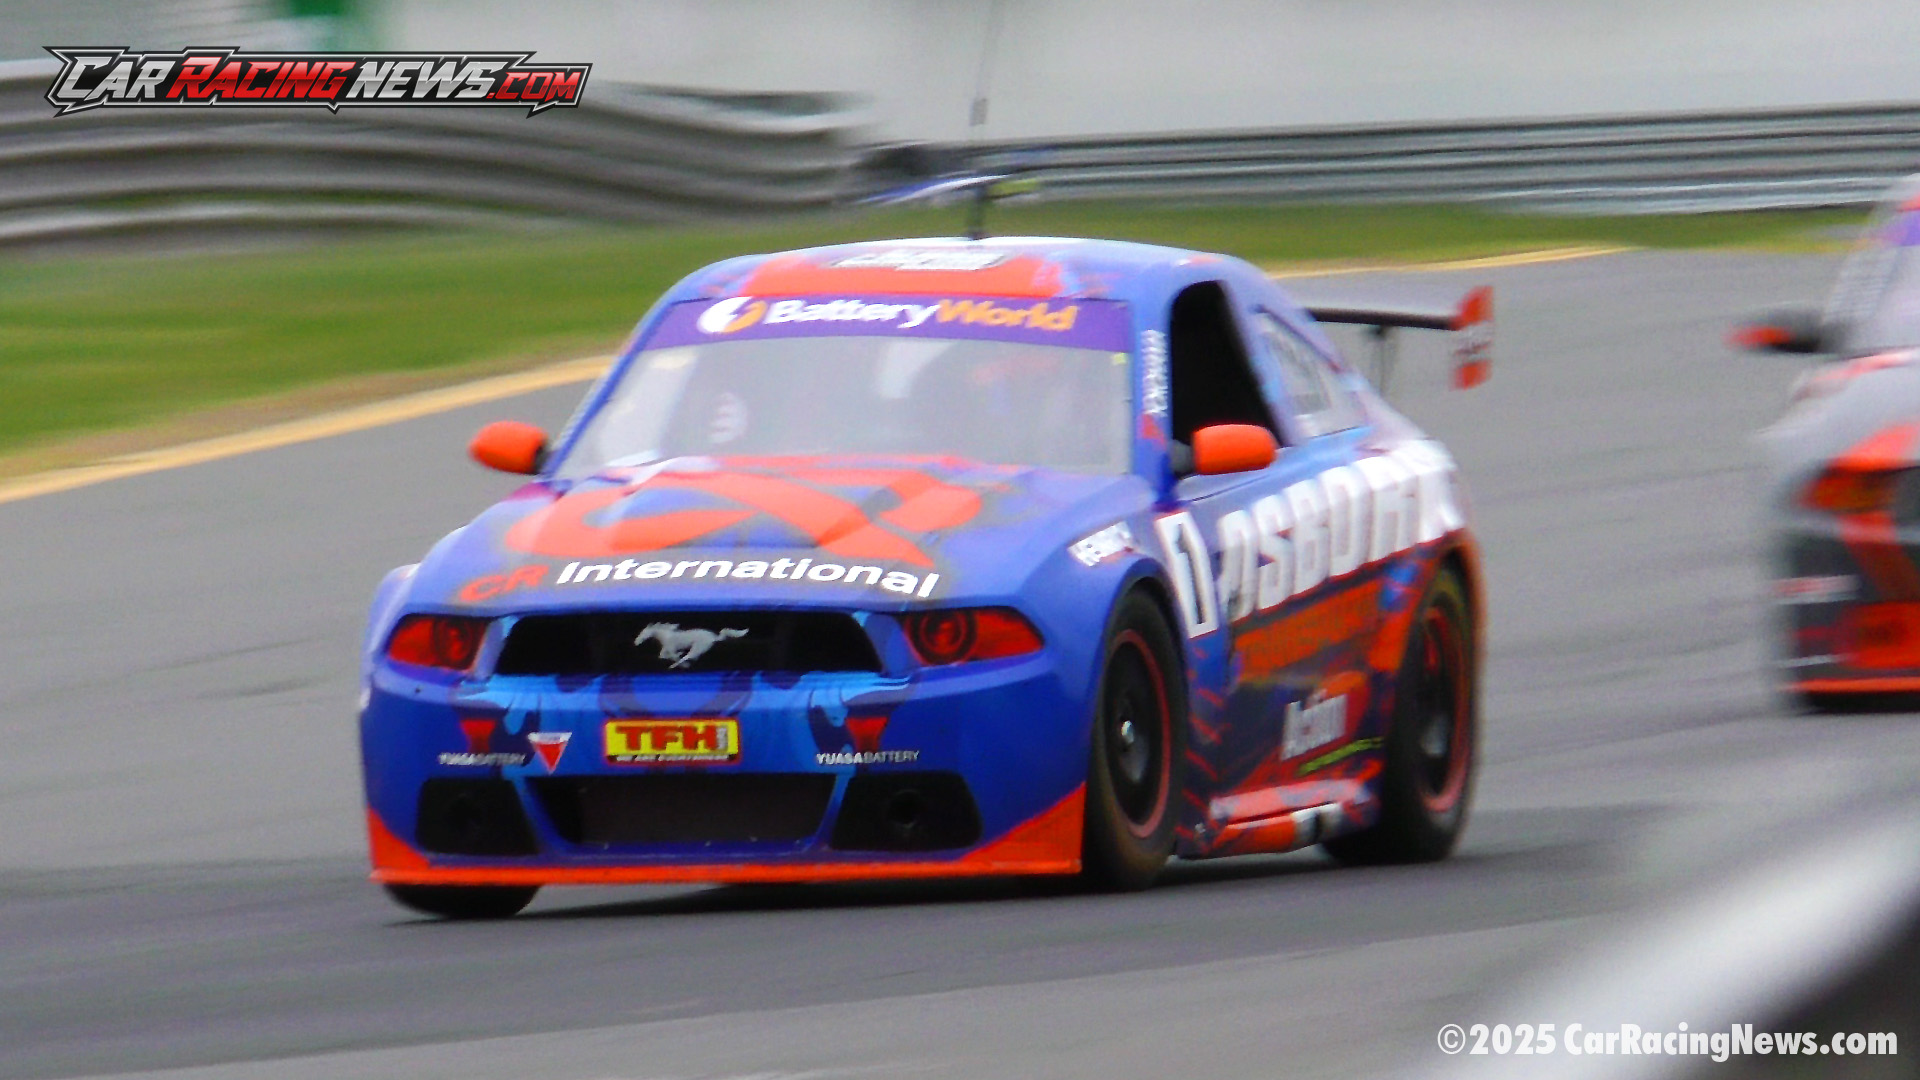
| 1 | Joel Heinrich (SA) #1 Osborn’s Transport (Mustang) | C | 8 | 17:30.7238 |
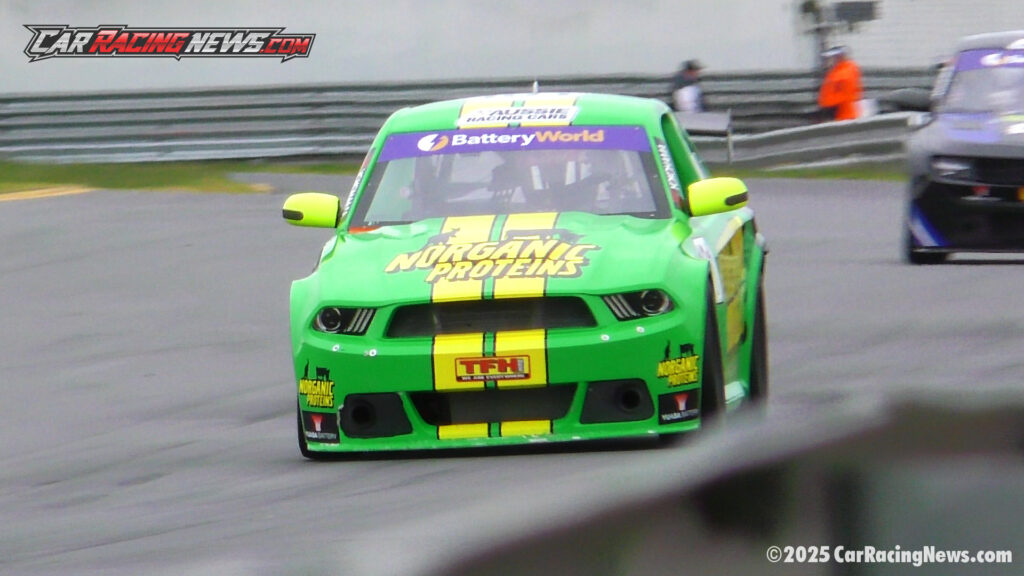
| 2 | Caleb Paterson (Qld) #101 Norganic Proteins Australia (Camaro) | R | 8 | 17:31.5590 |
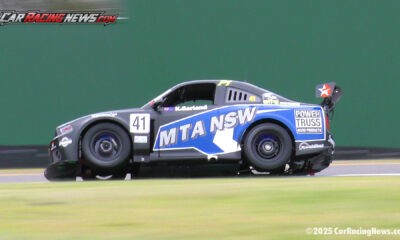
| 3 | Kody Garland (NSW) #41 Kody Garland Racing /MTA NSW (Mustang) | C | 8 | 17:32.3660 |
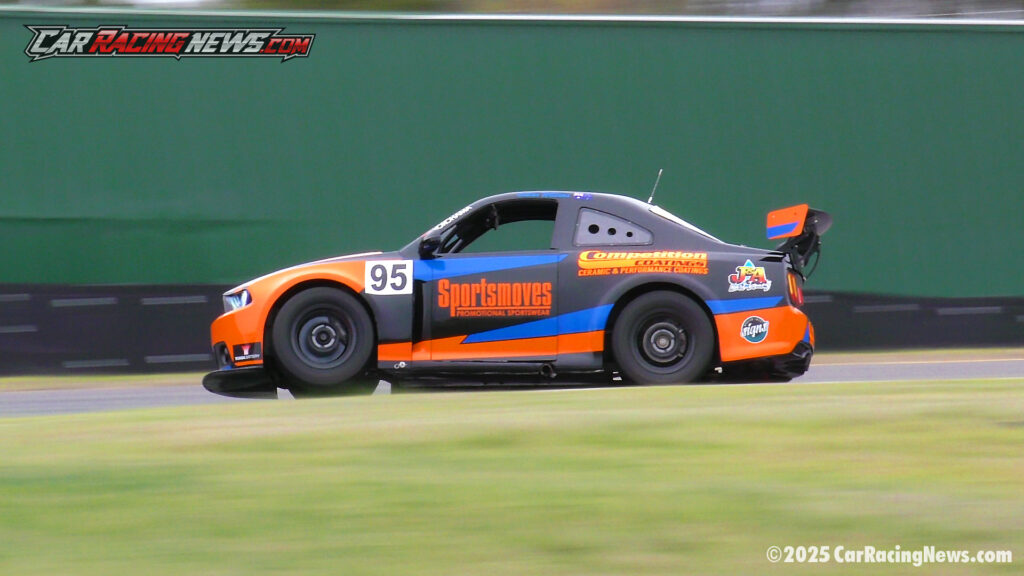
| 4 | Nathan Williams (Vic) #95 Competition Coatings (Mustang) | C | 8 | 17:33.0674 |
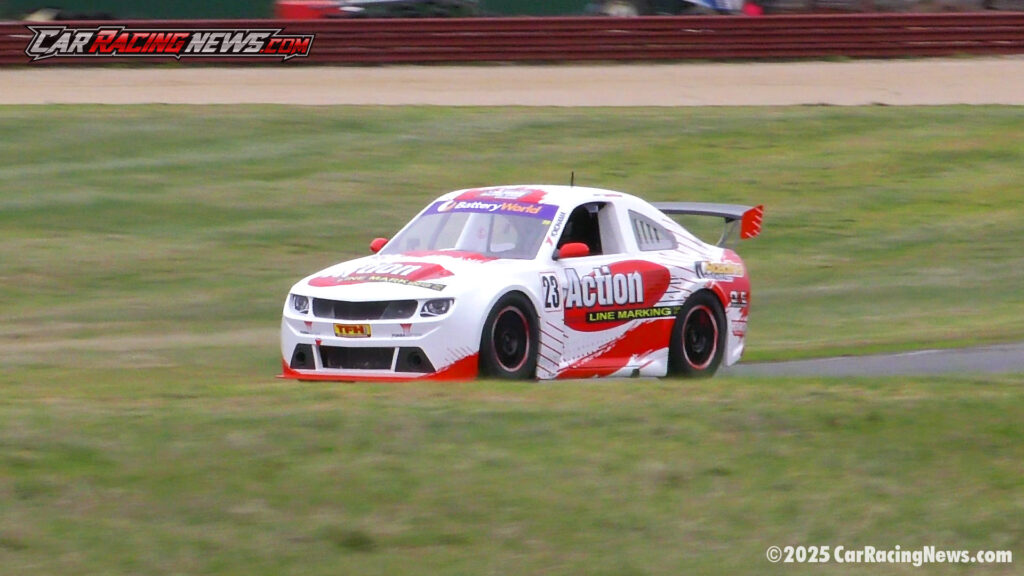
| 5 | Scott Dornan (Qld) #23 Action Line Marking (Camaro) | G | 8 | 17:34.0754 |
| 6 | Brandon Madden (Qld) #57 Harveys Towing (Camaro) | C | 8 | 17:35.2609 |
| 7 | Jack Boyd (SA) #38 Johnston Craill Racing (Aurion) | C | 8 | 17:36.4556 |
| 8 | Kent Quinn (Qld) #28 Norganic Proteins Australia (Mustang) | M | 8 | 17:37.5497 |
| 9 | Reece Chapman (NSW) #25 Racer Industries /Motorsport25 (Mustang) | C | 8 | 17:39.5543 |
| 10 | Nathan Barber #55 Ballarat Performance Wreckers (Camaro) | R | 8 | 17:40.4045 |
| 11 | Mason Harvey (WA) #54 Corish Motorsports /Tribridge (Mustang) | C | 8 | 17:41.4174 |
| 12 | Hayden Nissen (Qld) #195 CNH Racing (Camaro) | R | 8 | 17:42.4759 |
| 13 | David Makin (Vic) #65 Axil Coffee Rosters (Camaro) | G | 8 | 17:43.9549 |
| 14 | Jeff Watters (Vic) #96 MND Victoria /Proflow Mustang (Mustang) | G | 8 | 17:45.1256 |
| 15 | Shane Mann (SA) #21 Safe Direction Racing (Mustang) | M | 8 | 17:46.3851 |
| 16 | Andrew Corish (NSW) #87 Corish Motorsports (Mustang) | C | 8 | 17:47.2748 |
| 17 | Diesel Thomas (Qld) #18 TFH Hire Services (Camaro) | R | 8 | 17:48.2142 |
| 18 | Oscar Pederson (NSW) #51 Corish Motorsports (Mustang) | C | 8 | 17:49.5472 |
| 19 | Joseph Andriske (Qld) #58 Harveys Towing (Mustang) | G | 8 | 17:52.3322 |
| 20 | Kim Andersen (SA) #42 AA Racing (Mustang) | R | 8 | 17:53.0632 |
| 21 | Scott Andriske (Qld) #4 Harveys Towing (Camaro) | G | 6 | 17:54.6207 |
| DNF | Ryan Reynolds (NSW) #9 Jascott Civil /Reynovate Const (Mustang) | C | 6 | 13:01.3376 |
| DNF | Cody Mckay (NSW) #69 Cody Mckay Motorsports (Camaro) | M | 5 | 17:36.5687 |


Must See


Motorsport Feature Articles
Experience the Iconic Goodwood Festival of Speed: A Celebration of Automotive Excellence


Motorsport News
Robbie Brewer Passes Away During Bowman Gray Sportsman Race


GT World Challenge Australia
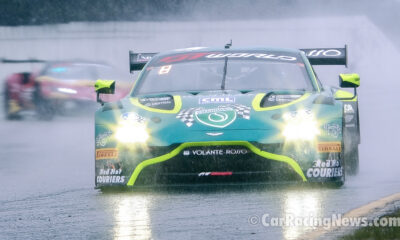
GT World Challenge Australia: Rain-Soaked Race 2 Sees Talbot Secure Aston Martin’s Breakthrough Win

Motorsport Video
VIDEO: 2025 GT World Challenge Australia – Round 4 Sandown

GT World Challenge Australia
GT World Challenge Australia: Evans and Schutte Win Sandown Race 1 for Ferrari


Andrea Kimi Antonelli
Driver Profile: Andrea Kimi Antonelli – The Journey to Formula 2 Success

Motorsport Feature Articles
From Gold Dust to Dusty Tracks: The Rise of Welkom’s Motorsport Legacy (Goldfields Raceway / Phakisa Freeway)

Motorsport Feature Articles
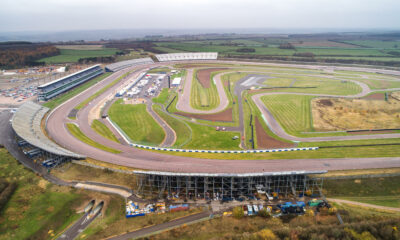
The Brief Racing History of England’s Rockingham Motor Speedway

Motorsport Feature Articles
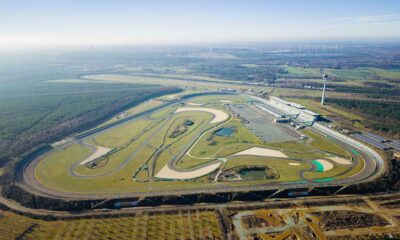
Lausitzring EuroSpeedway – Germany’s Racing Venue with a Tricky Triangle


Driver & Team Profiles
Team Profile: RLR MSport (RLR Motorsport)

Motorsport Feature Articles
The Simola Hillclimb: A Thrilling Ascent into South African Motorsport History

Motorsport Feature Articles
The Unforgettable Legacy of Calder Park Thunderdome: Australia’s Sole NASCAR Superspeedway